Congratulations! You're ready to write your first blog post with DropInBlog!
If you've come this far, you've already done a few things:
- You already know about the benefits of blogging.
- You already know why DropInBlog is the best blogging platform out there.
- Maybe you already started your free trial and figured out how to embed a DropInBlog into your website.
You did do all those things already, right?
Great! Let's learn how to create our first post.
Getting Started
First things first, log in to the platform.
Once you're in, open up the admin panel by clicking "Posts" in the navigation bar.
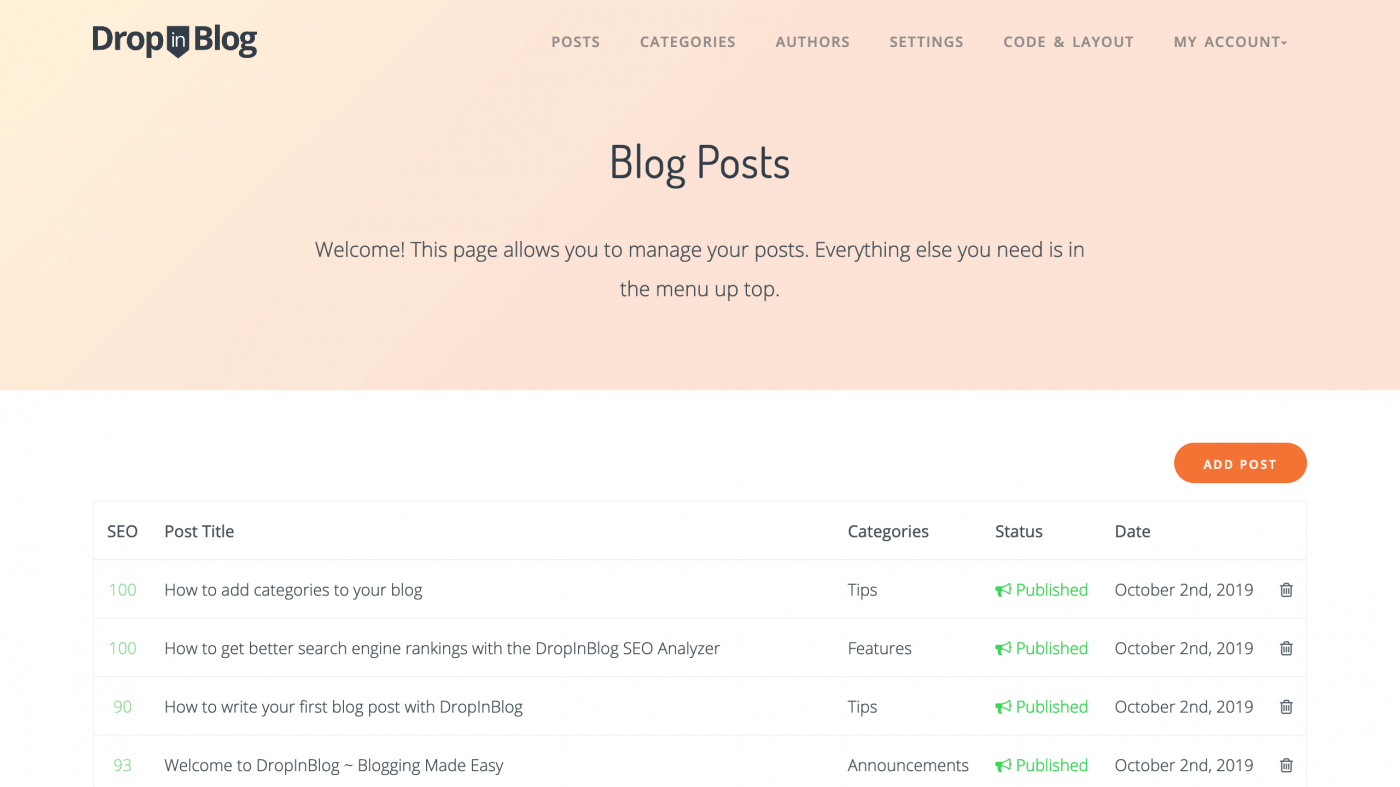
You'll see a welcome banner and a list of posts. Right now, there are a few demo posts in the list. Click any of these to get started, or click "Add Post".
Using the Editor
Welcome to the DropInBlog text editor: the heart of the DropInBlog platform.
It's easy to add a title and some content to your post using the "Post Title" and "Content" boxes. Just start typing!
(Okay....maybe pick a topic first?)
Formatting
Click the "Paragraph" dropdown to choose Paragraph or Header elements.
(hint: your Post Title is an H1 - we recommend H2 for any subsequent headings.)
Media
You're smart. You know that images are crucial to good posts. So we make it easy to add media:
- click the "insert/edit image" or "insert/edit media" link:

- click the "search files" icon to use your own image as the source image. Right-click on images to open an editor to do things like grayscale, cropping, etc.
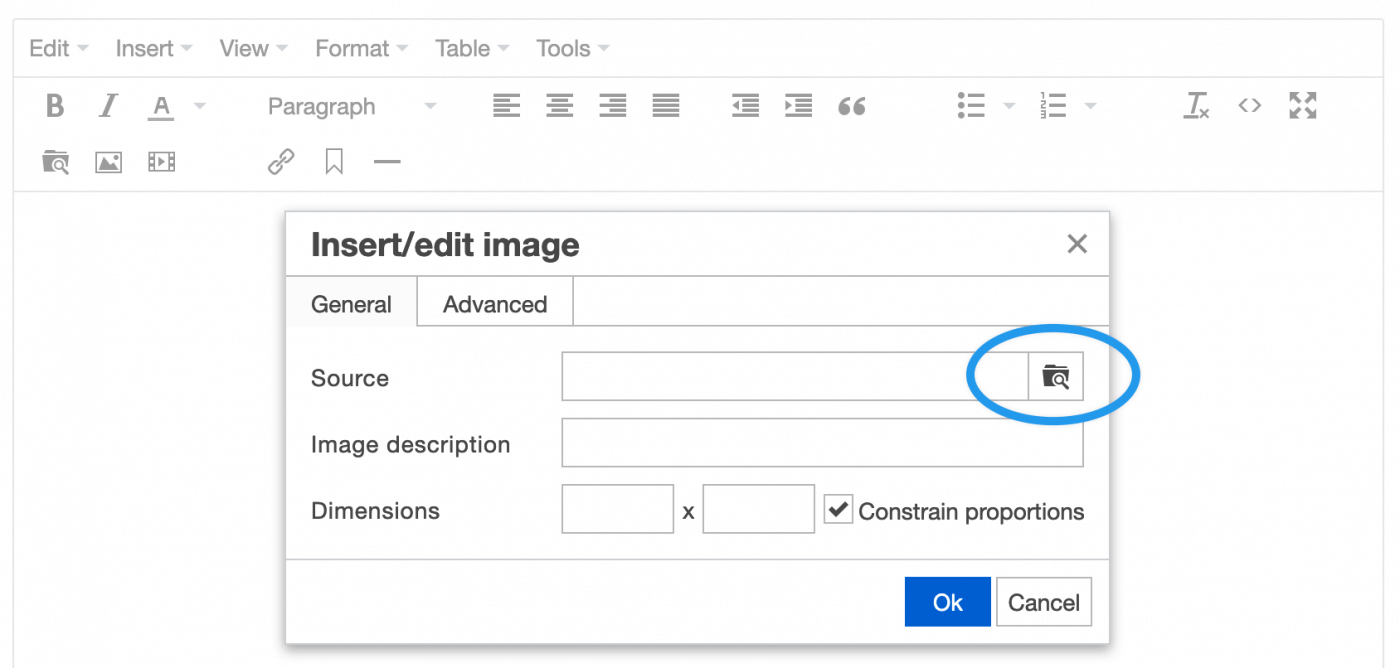
- click "upload" and select your image
- format the image inside the main editor (center, resize, etc.)
The DropInBlog Difference
We're cooking now! Let's look at some less-obvious features.
Help Icons
DropInBlog includes tooltips next to every input. Use them to improve SEO, formatting, and uploads.

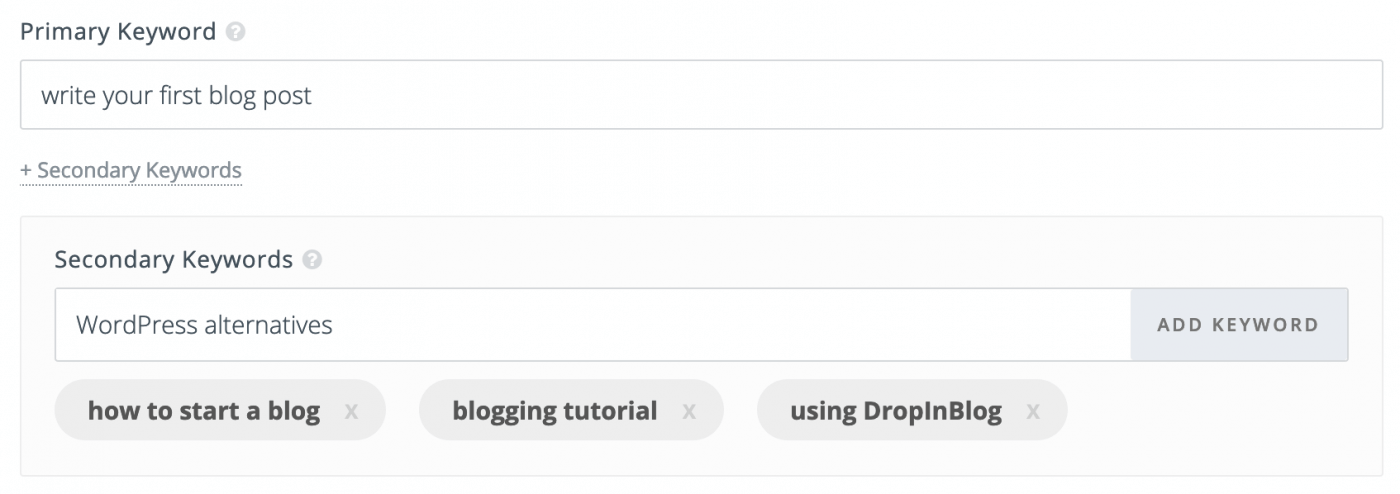
SEO Assistance
Just type in your keywords. Three scoring sections and an overall SEO ranking help you craft the perfect post around them.
CSS Optimization
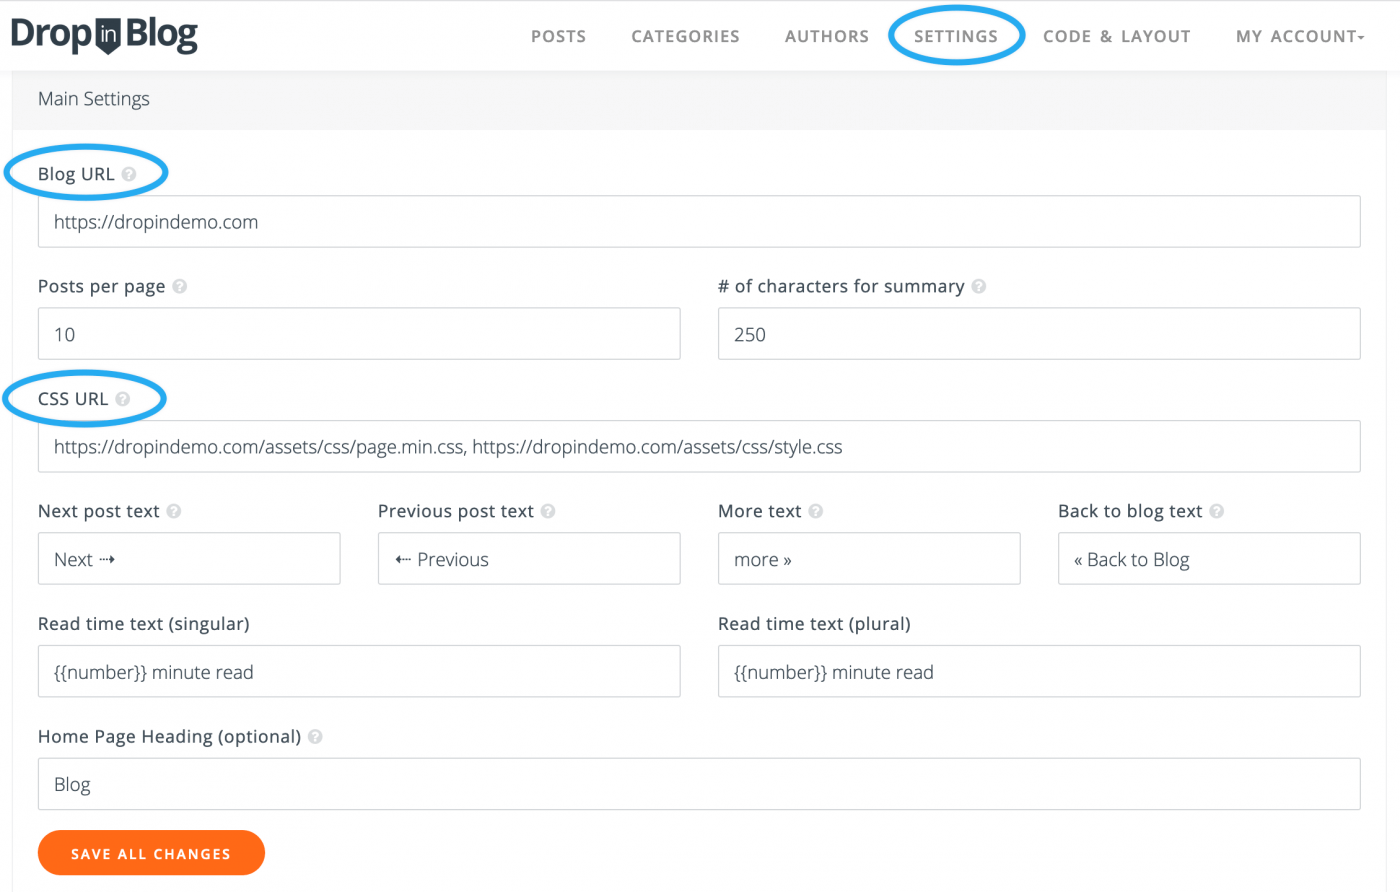
DropInBlog makes it easy to preview what the final post will look like with your CSS applied. Just add your CSS source URL on the "Settings" page:
- Click "Settings" in the top navigation bar
- Input your blog URL and CSS URL into the form and save your changes
Author
You can add an author by picking a name from the dropdown next to the editor. To populate this dropdown, head over to the "Authors" tab in the navigation bar.

Categories
Click the "Categories" navigation tab to add some categories, then tag your post with them by checking the boxes next to the editor.

Publish
Publishing is easy! Hit "Save Post" to save a draft of your post. Set your post to "Published" using the "Status" dropdown next to the editor when you're ready to go live. If you've already embedded your blog, it will automatically sync you your website.

Profit
That's all there is to it! You now know how to:
- add a new post
- add a title and content
- upload, edit and format images
- make your post SEO friendly
- preview your custom CSS
- add an author and categories
As you can see, it's super easy to get up and running with DropInBlog! Have questions? Drop us a line on Facebook Messenger, or reach out via the support page.